
Game Frame is designed for ease of use, with only a power switch and two buttons. The standard functions should be easy to discover, but if you run into any trouble please head over to the forums, or email me directly using the form on the right. I’ll be happy to help you out. Here are some tips to get you started.
 Goodie Bag
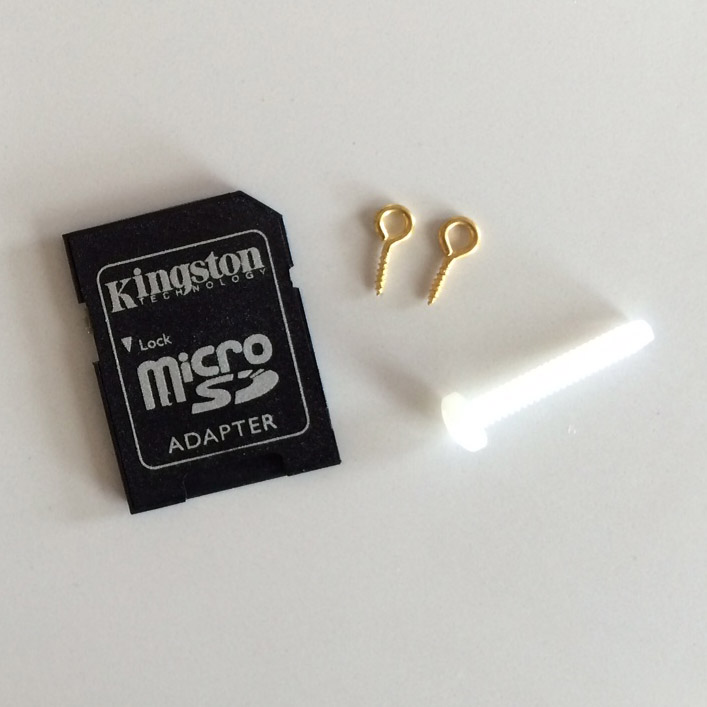
A small plastic bag comes bundled with your Game Frame (unless you ordered a Maker Kit). It contains a microSD -> SD adapter, two bronze hooks, and a nylon screw.
- The adapter can be used with the installed microSD to add or change animations using your computer.
- The bronze hooks screw into the predrilled holes on the rear, at either side of the circuit board, if you want to wall hang your Game Frame.
- The nylon screw is a fallback measure if your display shows signs of separation. If colors appear to bleed between pixel borders, try replacing one of the metal screws on the back with the nylon one, being careful not to strip the soft plastic material. It is slightly longer than the metal screws, and will compress the screen layers to alleviate separation.
Clock
If you have “clock” firmware installed, this feature will be enabled in the menu. Once the clock is set, it will show brief, periodic animations according to the timer setting in the menu. For instance, if your timer is set to 1 minute, the clock will show an animation at the top of every minute. (Note: when not using the clock, the timer has a different function; controlling how long each animation is shown.)
The clock has additional settings that can be tuned using the clock.ini file on the microSD inside the /00system folder.
Installing New Art
The key thing to remember is images must be 24-bit BMP files, and you’ll get a good idea of how things work by exploring the microSD. For further explanation I’ve written up this separate guide to installing new graphics.
This is a sample multiline comment text with random number: 522